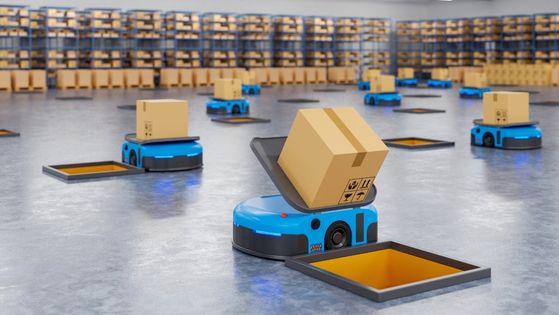
How to create amazon fba account? If you’re looking to sell on Amazon, one of the most popular options is to use their FBA (Fulfillment by Amazon) program. This allows you to store your products in Amazon’s warehouses, and have them handle the shipping, returns, and customer service. In this article, we’ll walk you through the steps for How to create amazon fba account.

How to create amazon fba account
Step 1: Create an Amazon Seller Account
The first step to creating an Amazon FBA account is to create a regular Amazon seller account. This is the account you’ll use to manage your products, orders, and payments. To create an Amazon seller account, go to sellercentral.amazon.com and click on the “Register now” button.
You’ll then be asked to provide some basic information, including your name, email address, and a password. You’ll also need to provide your business information, such as your business name, address, and tax ID number.
Step 2: Set up FBA
Once you have a seller account, you can start setting up FBA. To do this, go to the “Inventory” tab in your seller account, and click on “Add a Product.” You’ll then be prompted to enter information about your product, including the product name, category, and price.
Once you’ve entered your product information, you’ll see a checkbox for “Fulfillment by Amazon.” Check this box to indicate that you want to use FBA to fulfill orders for this product.
Step 3: Ship Your Products to Amazon
Once you’ve set up FBA for your products, you’ll need to ship them to Amazon’s warehouses. To do this, go to the “Manage Inventory” tab in your seller account, and select the products you want to ship.
You’ll then be prompted to create a shipping plan. This involves providing information about the quantity and weight of your products, as well as the shipping address. You’ll also be asked to choose a carrier and shipping speed.
Once you’ve created your shipping plan, you’ll need to print out the shipping labels and send your products to Amazon’s warehouse. Amazon provides detailed instructions on how to prepare and ship your products, so be sure to follow these carefully.
Step 4: Monitor Your Inventory and Sales
Once your products are in Amazon’s warehouse, you can start monitoring your inventory and sales. Go to the “Inventory” tab in your seller account to view your current inventory levels, as well as any pending orders.
You can also use Amazon’s reporting tools to track your sales and identify trends in your business. This can help you optimize your product offerings and pricing over time.
Step 5: Get Paid
When customers purchase your products on Amazon, Amazon handles the payment processing and transfers the funds to your account. You’ll receive payments every two weeks, and can view your payment history and details in your seller account.
You can also use Amazon’s tools to set up automatic payments for things like fees and taxes, making it easier to manage your finances.
Conclusion
Creating an Amazon FBA account is a great way to sell your products on the world’s largest online marketplace. By using FBA, you can save time and resources by outsourcing your fulfillment and shipping needs to Amazon. Just follow the steps outlined in this article to create your FBA account, ship your products to Amazon, and start selling!
